Tutorials
A guided first run through the Console. Follow it in order: each step builds on the one before.
Set up your studio in the Console
In this tutorial you create your studio's organization, decide what every install keeps in its Activity Log, and connect the first computer. You need a work email address at your studio's domain and a computer with Mirall installed.
1. Sign in
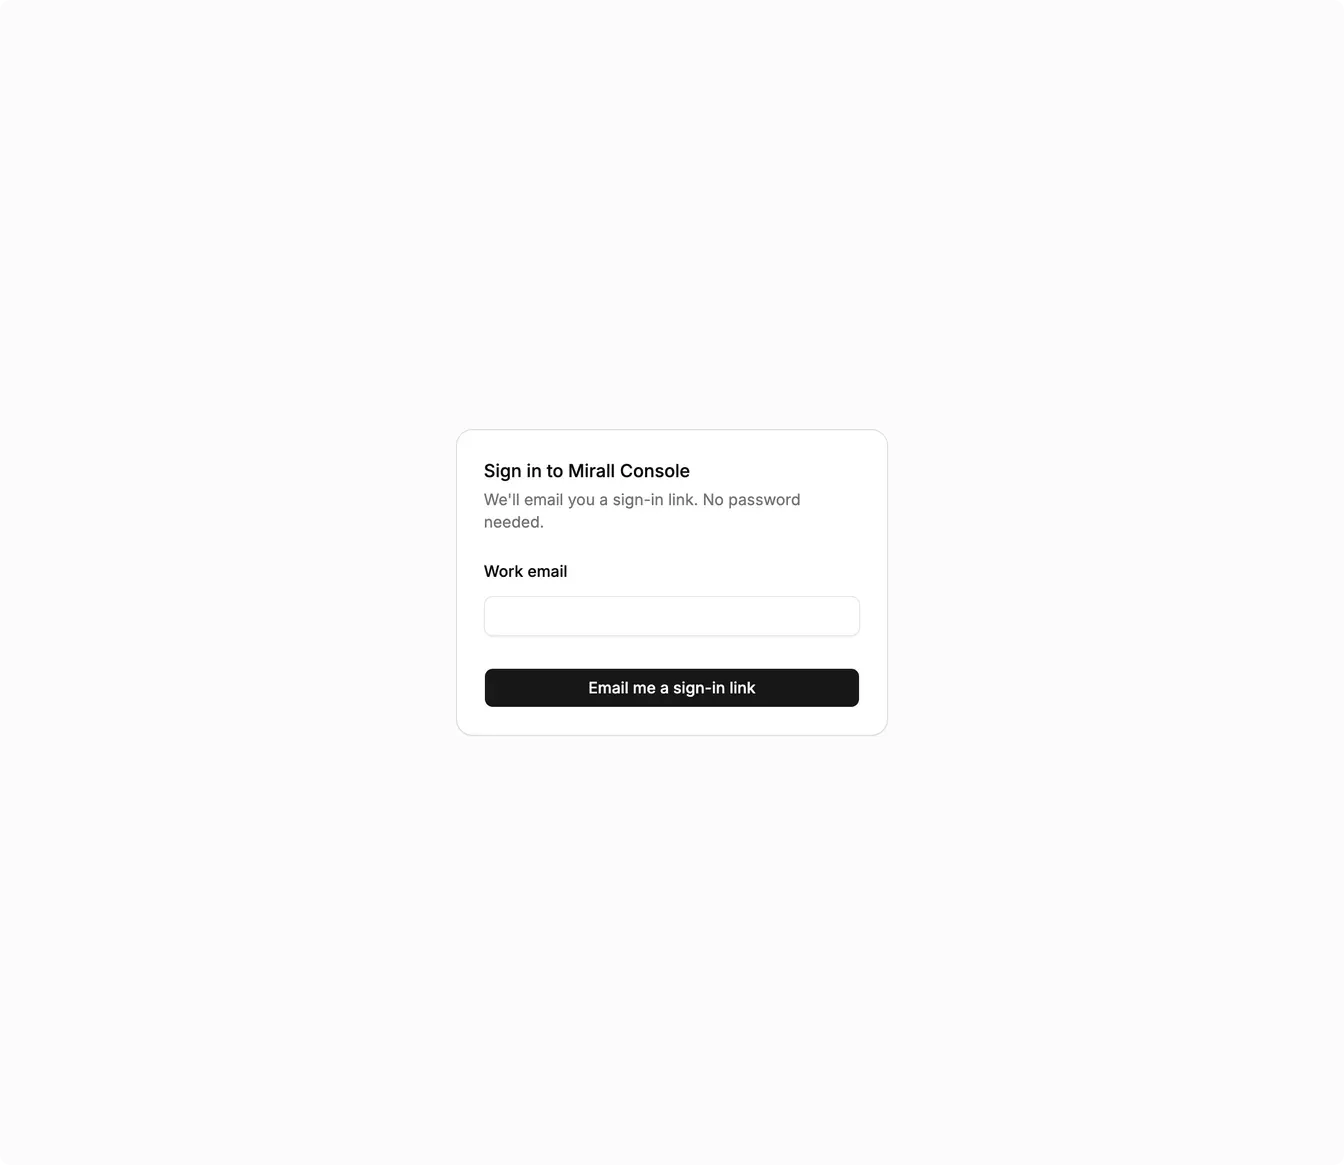
Open console.mirall.app. The Console has no passwords: enter your Work email and click Email me a sign-in link. The link in that email works once and expires in an hour. Open it in the same browser.
During the closed beta, an organization can only be created from an email domain we have enabled for your studio. If creating one fails, write to us at [email protected].
2. Create your organization
The first time you sign in, the Console asks you to Set up your organization. Enter your studio's name, choose A company or team, and click Create organization. You are its owner.
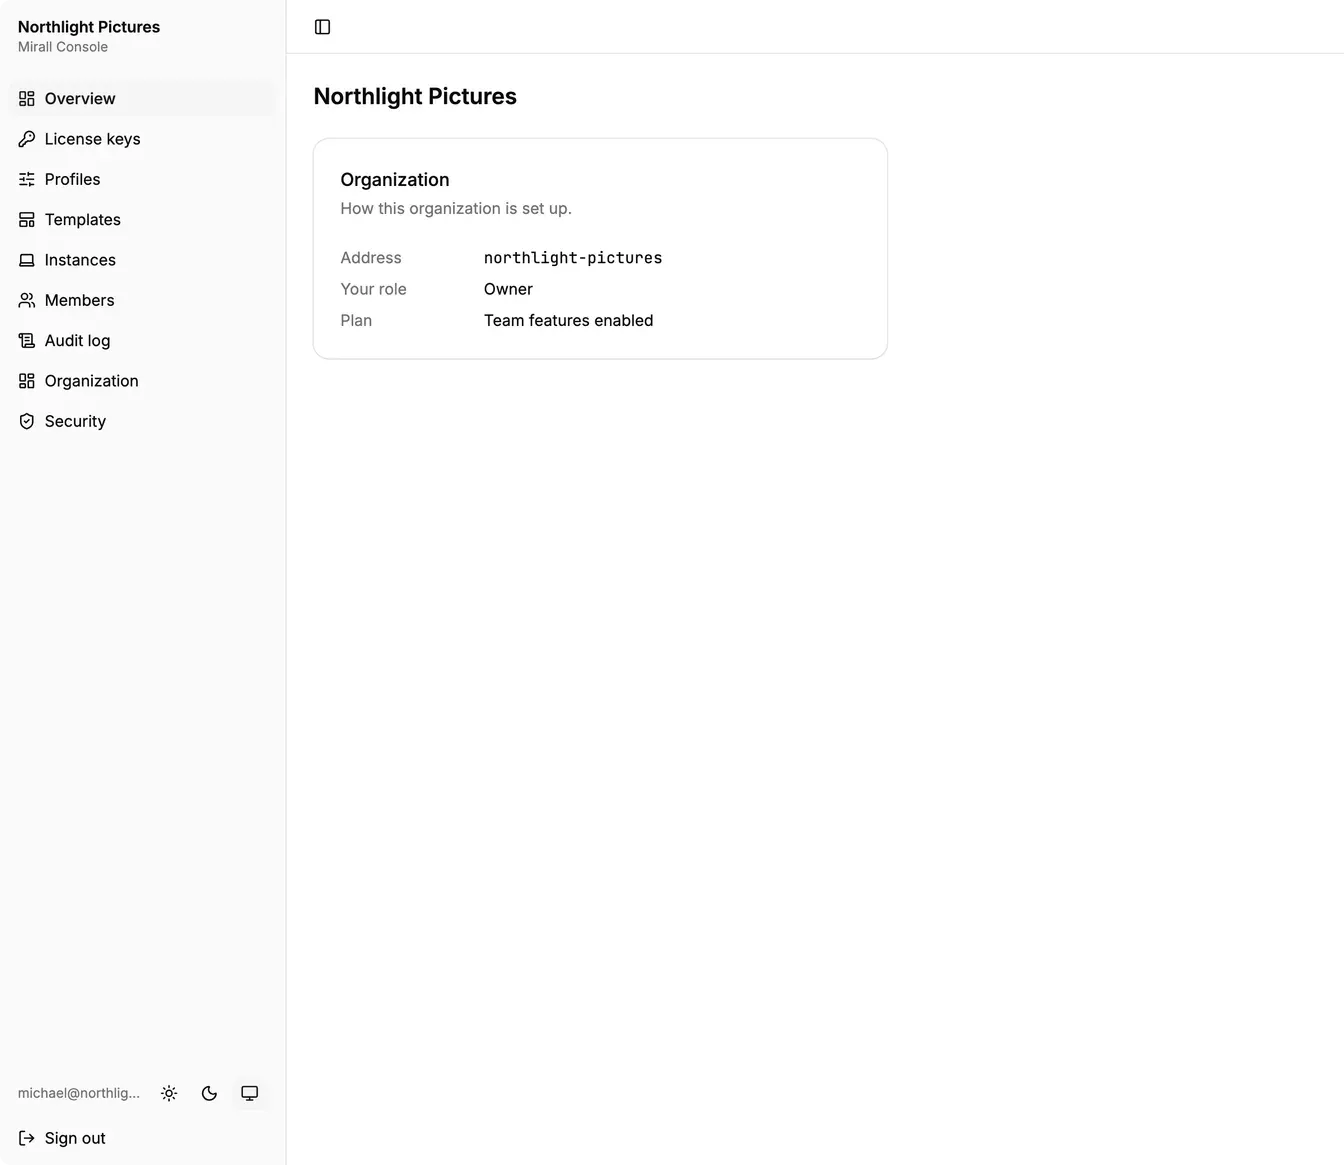
The Overview shows how the organization is set up: its address, your role, and whether its plan has team features.
3. Protect your account
As the owner you can reveal license keys and decide who has access, so the Overview asks you to turn on two-factor authentication until you do. Click Turn it on and follow Turn on two-factor authentication.
4. Say who people can ask
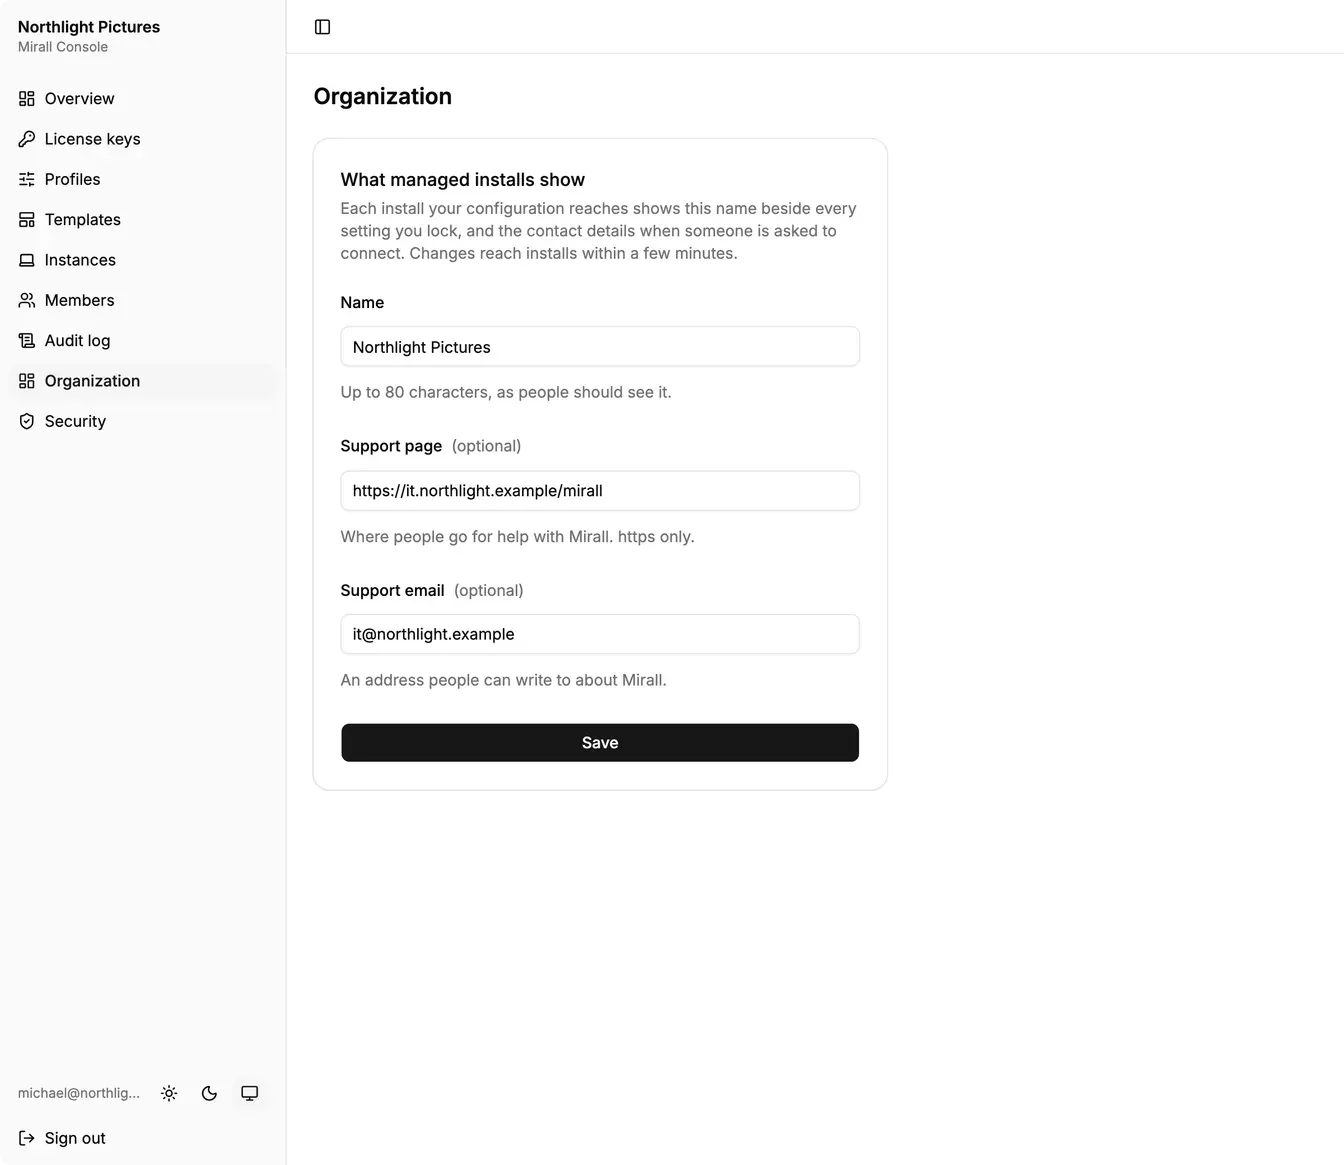
Open Organization. Every computer you manage shows your organization's name beside each setting it locks, and the support contacts when someone is asked to connect. Add a Support page and a Support email, then click Save.
5. Decide what every install keeps
Open Profiles, then Default. Every license key starts on this profile. Under Activity log, tick Set here beside Keep activity for and choose 365 days. The row now reads Locked on every install.
Click Save, then Publish in the delivery line at the top. The line reads Live once the configuration reaches your fleet, with the version it delivered.
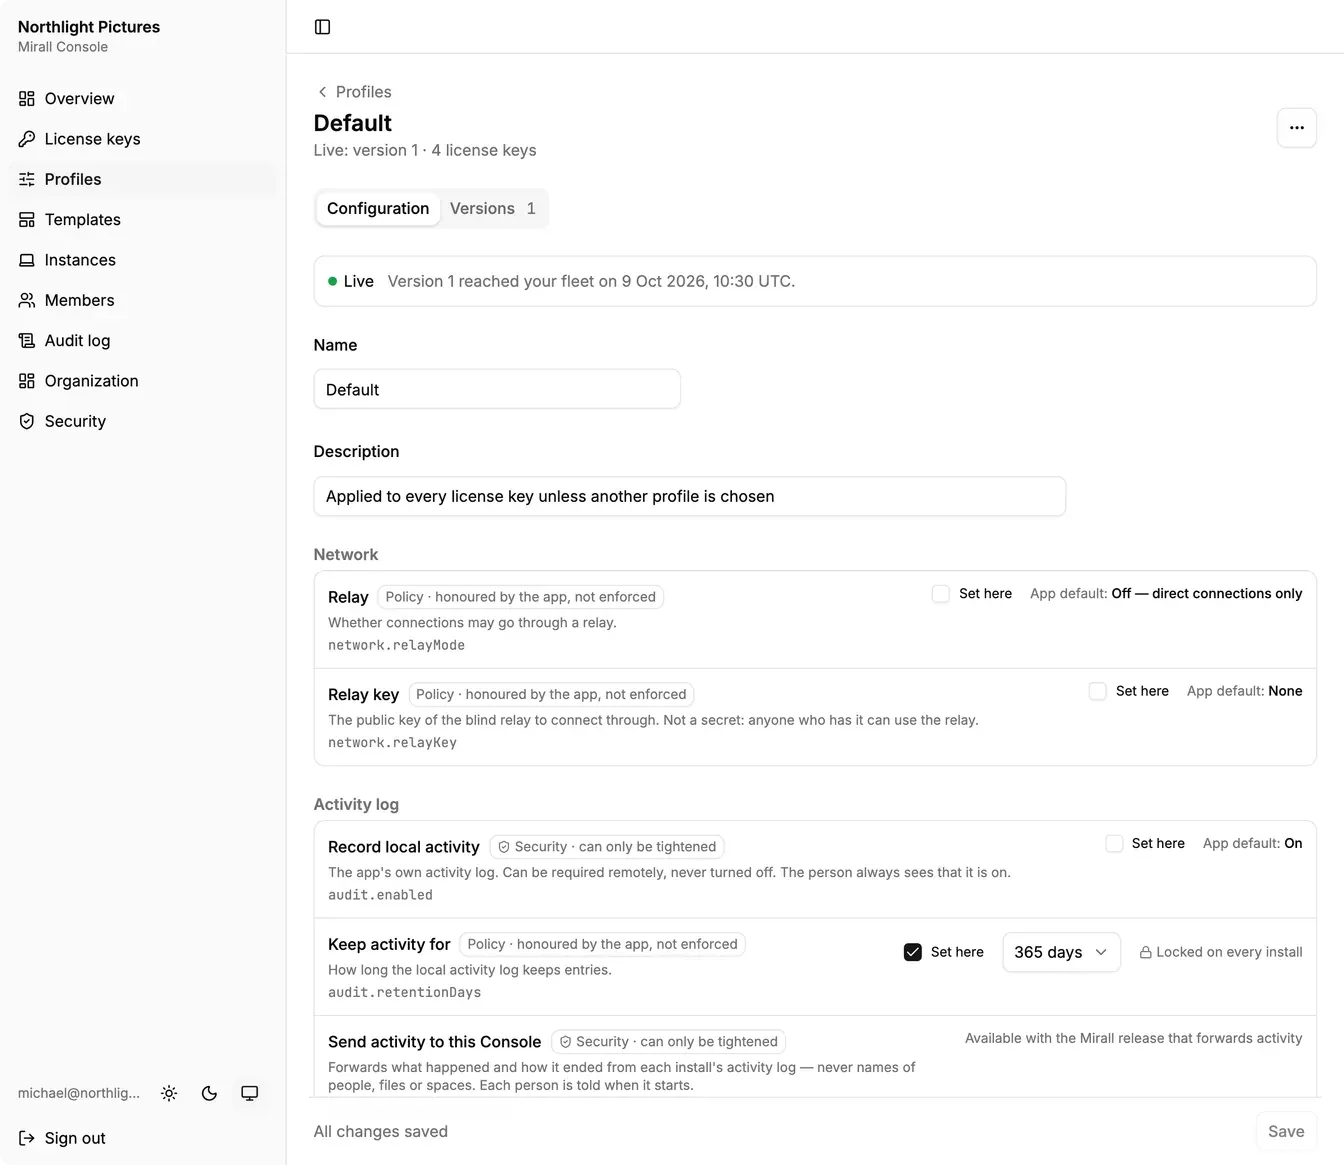
Right after you create the organization, the delivery line can read that delivery is still being set up. Publish appears when it is ready, usually within a few minutes.
6. Issue the first license key
Open License keys and click Issue key. Enter the Email of the person the key is for (start with your own), keep the Default profile, add a Label such as the computer's name, and click Issue key.
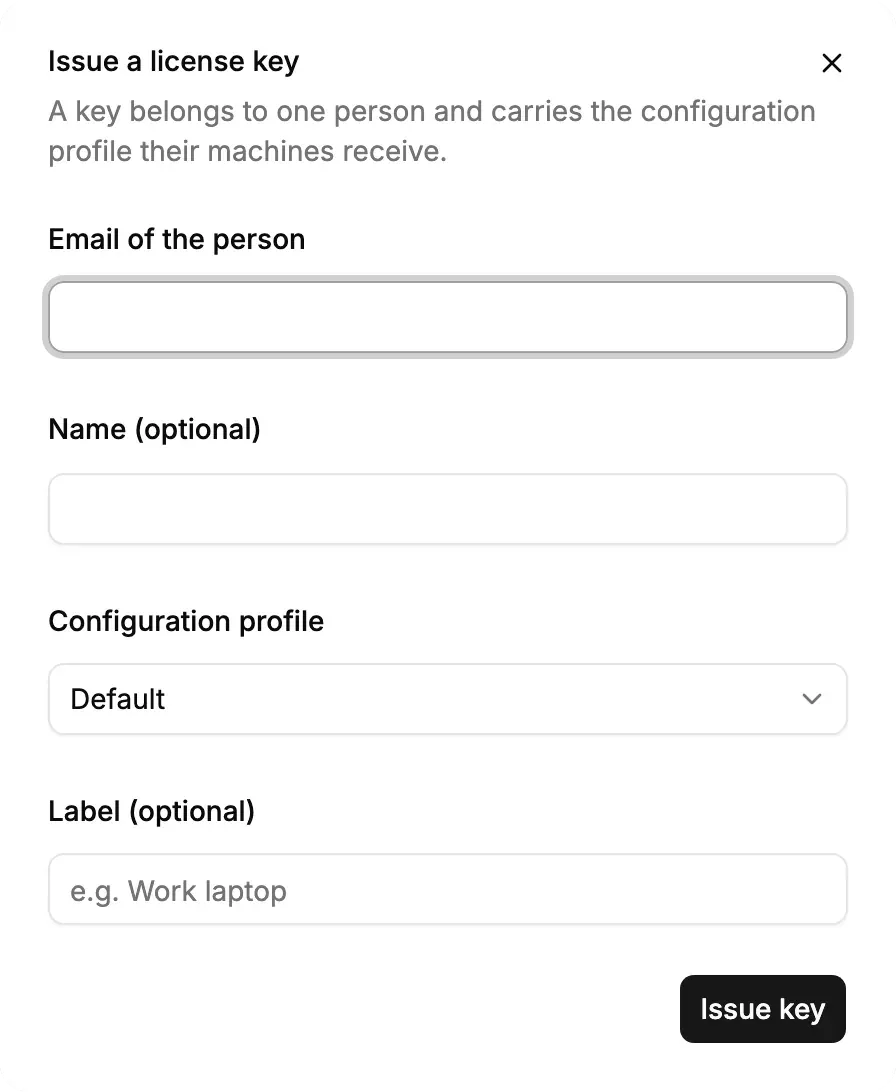
The dialog shows the full key once. Click Copy activation link and keep it for the next step, then click I've stored the key.
7. Connect a computer
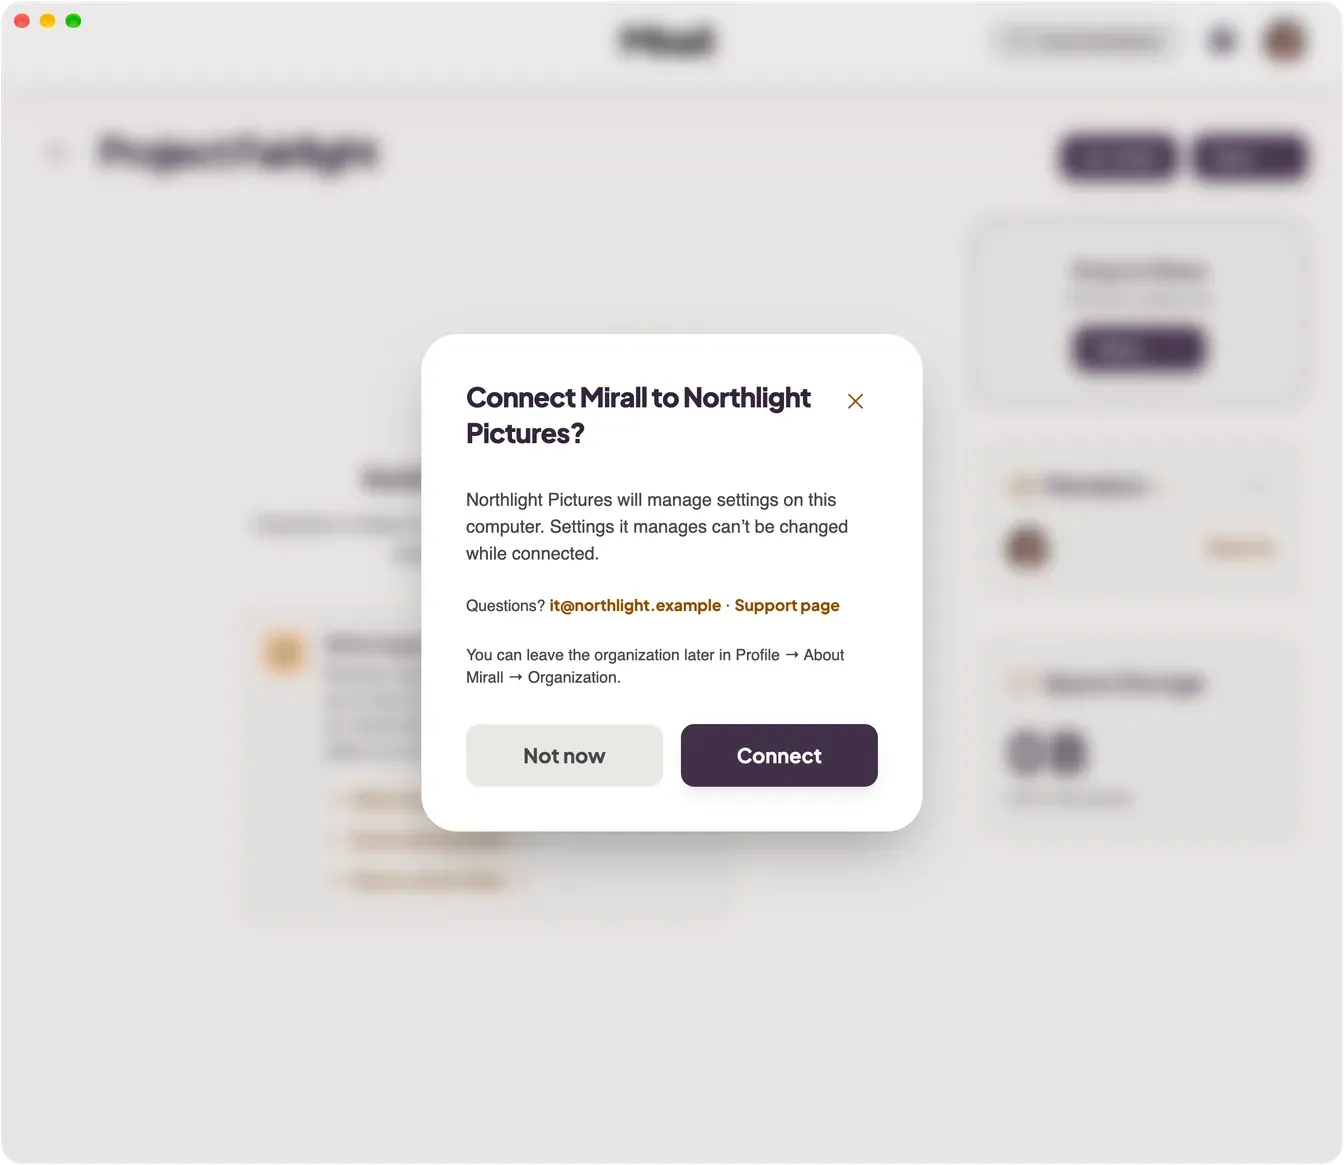
On the computer with Mirall, open the activation link. Your browser hands it to Mirall, which asks Connect Mirall to <your organization>? with the support contacts you entered. Click Connect.
8. See it report
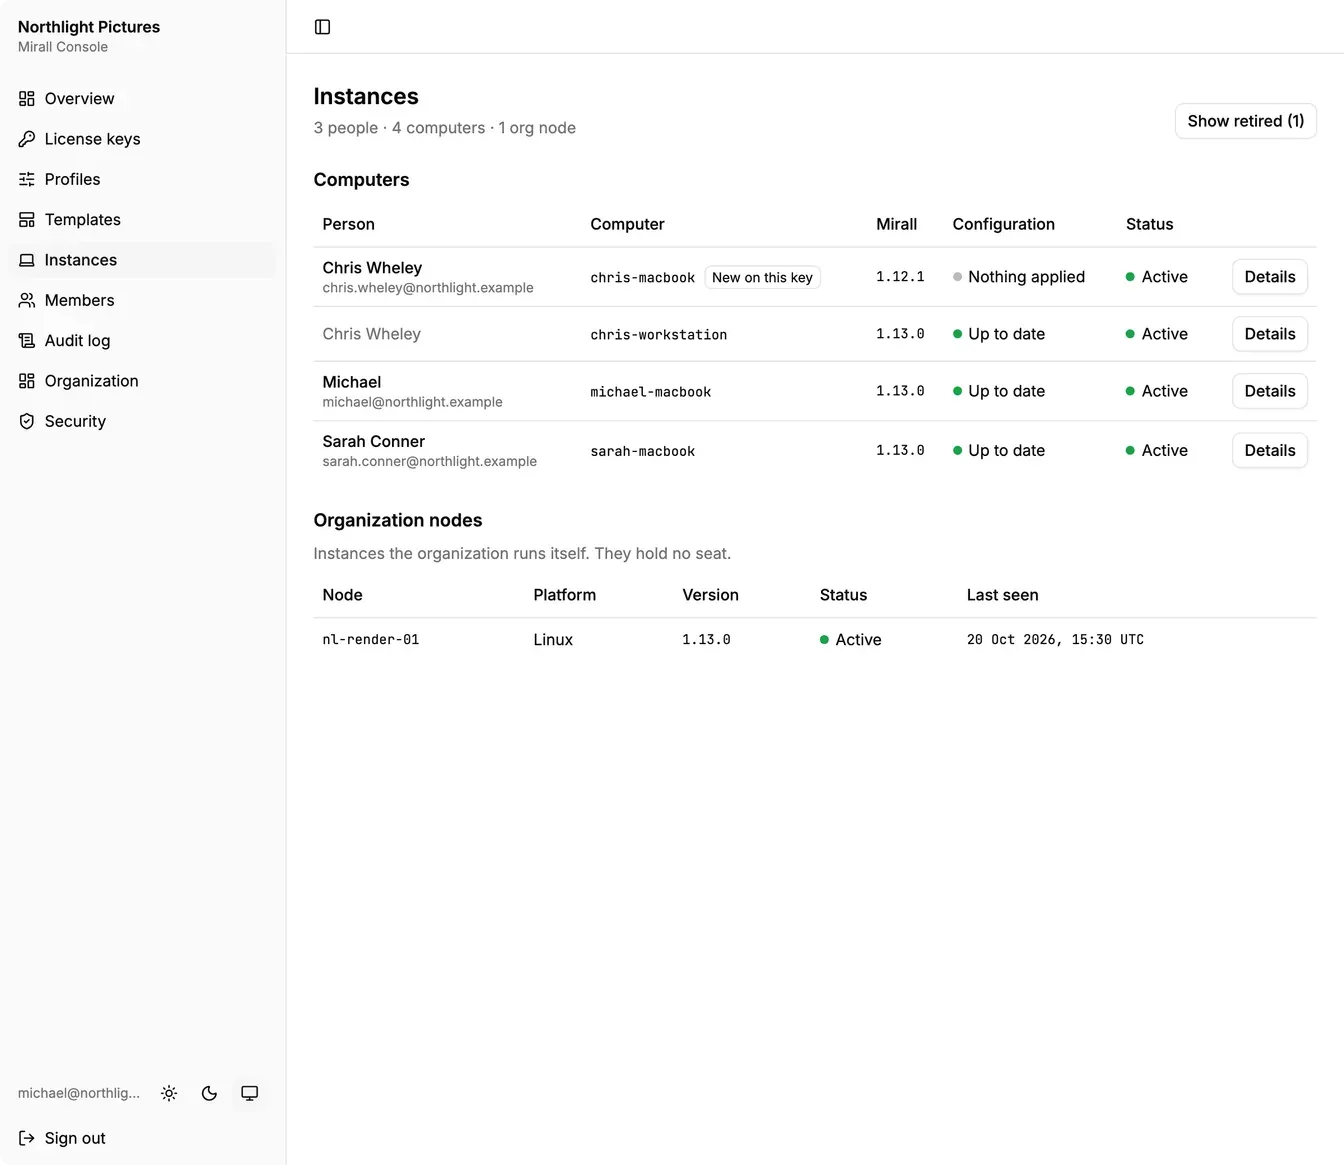
Back in the Console, open Instances. The computer is listed under your name with its Mirall version, and Configuration reads Up to date once it has applied what you published.
You have an organization, a published configuration and a computer that reports to you. Issue a key for each person next, and invite whoever helps you run the Console.